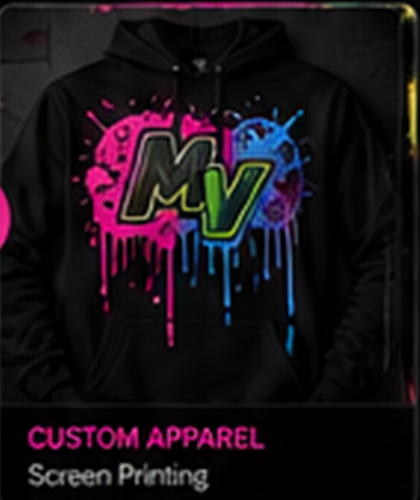
Embroidery & Digitizing

Embroidery is a creative craft that blends artistry with precision, transforming simple fabric into something uniquely personal and expressive. Using colorful threads, intricate stitches, and thoughtful designs, embroidery adds texture, depth, and personality to clothing, accessories, and home décor. Whether it’s a delicate monogram, a bold custom logo, or a detailed decorative pattern, each embroidered piece carries a handcrafted touch that sets it apart. It’s a timeless way to elevate everyday items while showcasing skill, creativity, and attention to detail.

Embroidery digitizing is the process of converting artwork into a stitch-ready file that an embroidery machine can read and sew. Using specialized software, a designer maps out each stitch—determining stitch types, direction, density, and sequencing—to ensure the design looks clean, smooth, and professional when stitched onto fabric. Digitizing transforms simple images or logos into precise embroidery instructions, making it a crucial step for creating high-quality, detailed patches, apparel, and custom designs.

5 Simple Steps

01
Create Your Patch Design

We will use embroidery software to set up your patch file and make sure the design includes all the right stiches needed for the application.

02
Prepare The Stabilizer

Use heavy-weight cut-away stabilizer or water-soluble stabilizer (WSS) depending on the patch style

03
Embroider the Design

Let the machine run the interior design stitches. This includes your logo, lettering, or artwork. Keep an eye on thread changes, tension, and thread breaks

04
Stitch the Satin Border

This is the thick border that seals the raw edges and gives the patch its finished look.

05
Add Your Backing (Optional but recommended)

Choose your preferred patch backing:

  • Iron-on adhesive
  • Sew-on patch backing
  • Velcro hook-and-loop
  • Adhesive peel-and-stick backing

#Quick Contact

Not Enough? Still, Do you
Have a question?