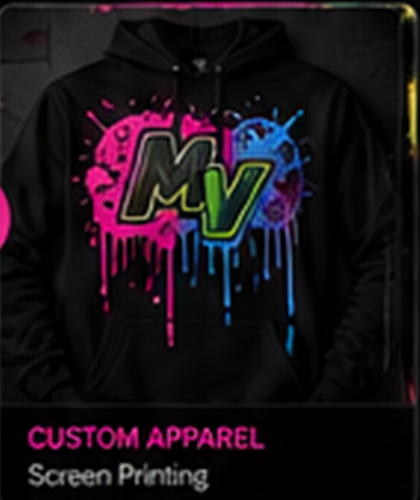
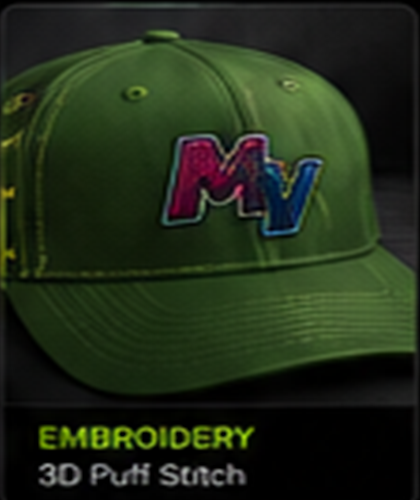
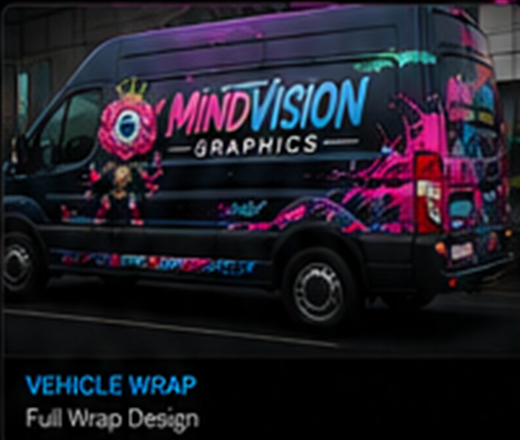
Screen printing is a versatile printing method that uses a mesh screen, ink, and a squeegee to transfer bold, vibrant designs onto fabric, paper, or other materials. Each color in the artwork is applied through its own stencil, allowing for sharp details and long-lasting prints. It’s especially popular for custom apparel because it produces rich colors that hold up well over time, even after repeated washing. Whether used for business branding, team shirts, or artistic creations, screen printing delivers a professional, durable finish that stands out.
Design your object in 3D modeling software (like Blender, Fusion 360, or Tinkercad). Make sure it’s the right size and has all the details you want.
Inspect the design for errors (like holes, non-manifold edges, or walls that are too thin). Export it in a 3D printable format, usually .STL or .OBJ.
Import the file into slicing software (such as Cura, PrusaSlicer, or Simplify3D). This software converts your design into layers and generates the instructions (called G-code) your 3D printer needs. Here you can adjust settings like layer height, infill, and supports.
Prepare your 3D printer by leveling the bed, loading filament or resin, and checking temperature settings.
Transfer the G-code to the printer (via SD card, USB, or Wi-Fi) and begin the print. The printer builds the object layer by layer.
Once the print is complete, remove it carefully from the build plate. Clean it up by removing supports, sanding rough edges, or curing resin (if using resin printing). You can also paint or finish the piece as needed.